
Welcome to our Journey to a Smart Office blog series: a first-hand account of transforming our office! This blog, “The Cameras”, is part 2 in this series. To start at the beginning of our journey, click here.
Selecting the Hardware
As we began to enter the weeds of the project, we realized building a smart office can be daunting, especially for companies that are starting from scratch. If you have tried implementing a smart solution in your home or valued space, you likely ran into similar roadblocks. We began by reverse-engineering the implementation process and decided our highest priority was to install the cameras and network connecting the cameras to the system because the cameras and their means of sending data is a primary component of the solution. Without imagery coming from the cameras, we would not be able to track people through the space in real time. As the office evolves, we will upgrade the system and add equipment to provide extended functionalities.
One of the main criteria we had to consider was our hardware needed to be compatible and communicate data accurately with the platform for reliable analysis and action. Our cameras needed to capture footage at a high enough resolution and relay images to a powerful edge processor for real-time image recognition. Power requirements for each camera needed to be considered to ensure our connecting switch would not be overloaded. Data from various hardware providers needed to be translated and formatted to integrate into the application. Having a team of great minds and VANTIQ’s agile platform made selecting hardware components for our real-time application much more straightforward.
Using an already built enterprise connector, the Amcrest IP cameras are RTSP protocol compatible, inexpensive, and very easy to set up, which enables us to utilize their footage and virtually collaborate during application development. The single-connection POE+ (Power Over Ethernet) nature of the cameras and network switch made for a simpler installation by foregoing the need for an expensive electrician to run network and power lines in tandem.

Giving the thumbs up for a good signal from an IP camera
A Speedy Installation
The installation required us to mount 7 cameras to our ceiling and run an ethernet cable from each camera to our network switch. We were fortunate to have formed a relationship with iValley Tech Partners who installed our internet and hotspot network when we first moved into the office. Their familiarity with our space and chosen surveillance cameras on top of their expertise installing AV/IT equipment made for a smooth installation. The installation took two days to complete.
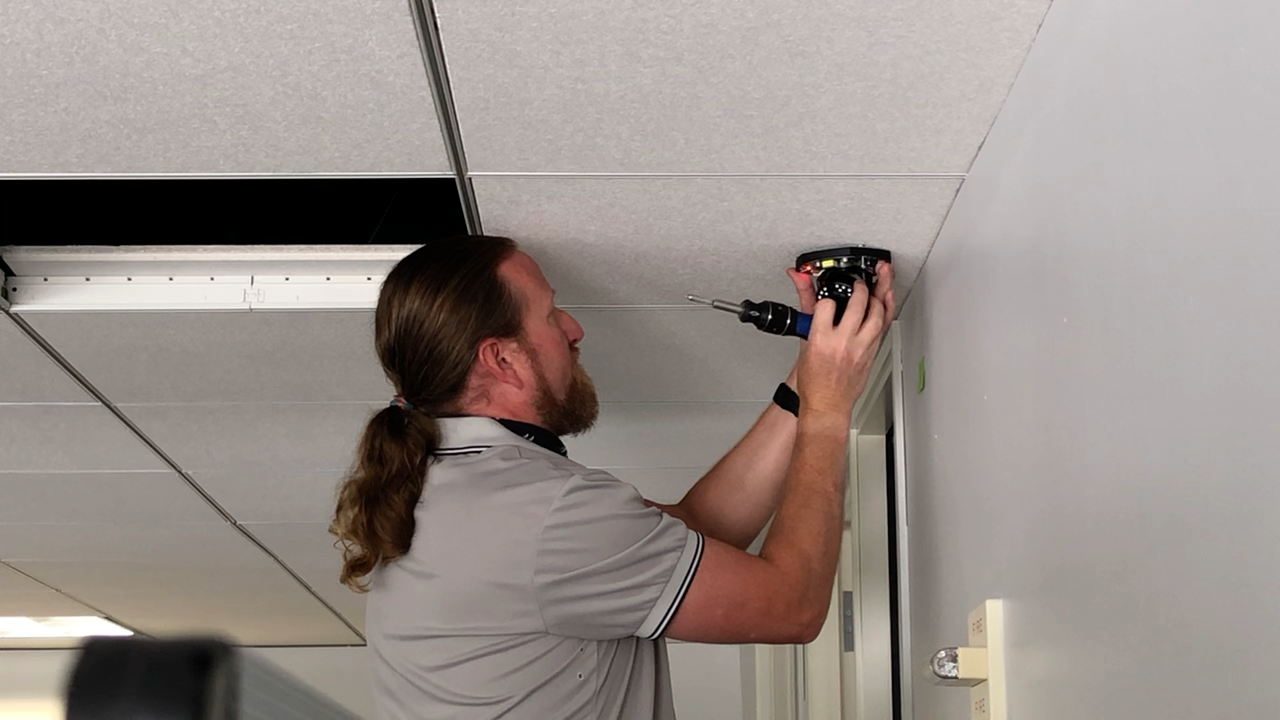
IP camera being installed
The Cameras
Six IP cameras are stationed in strategic locations throughout the office such as the conference room, break room, hallways, and cubicles to gather visual context, count occupants, and track movement. We decided to order cameras that had a wide enough view (120°) to capture panoramic images in corner spaces. We placed 2 cameras in the same central location of the office to enable us to test redundant tracking of moving objects. If needed, we could reposition a camera to a different part of the office to increase visibility.

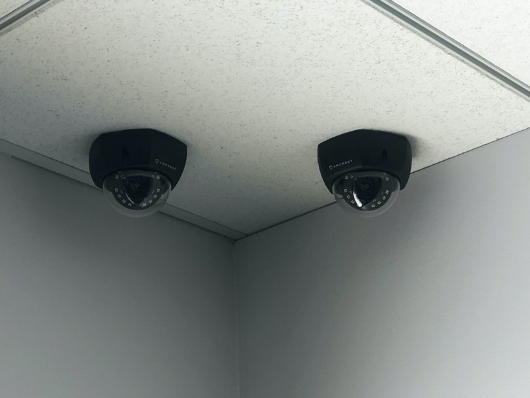
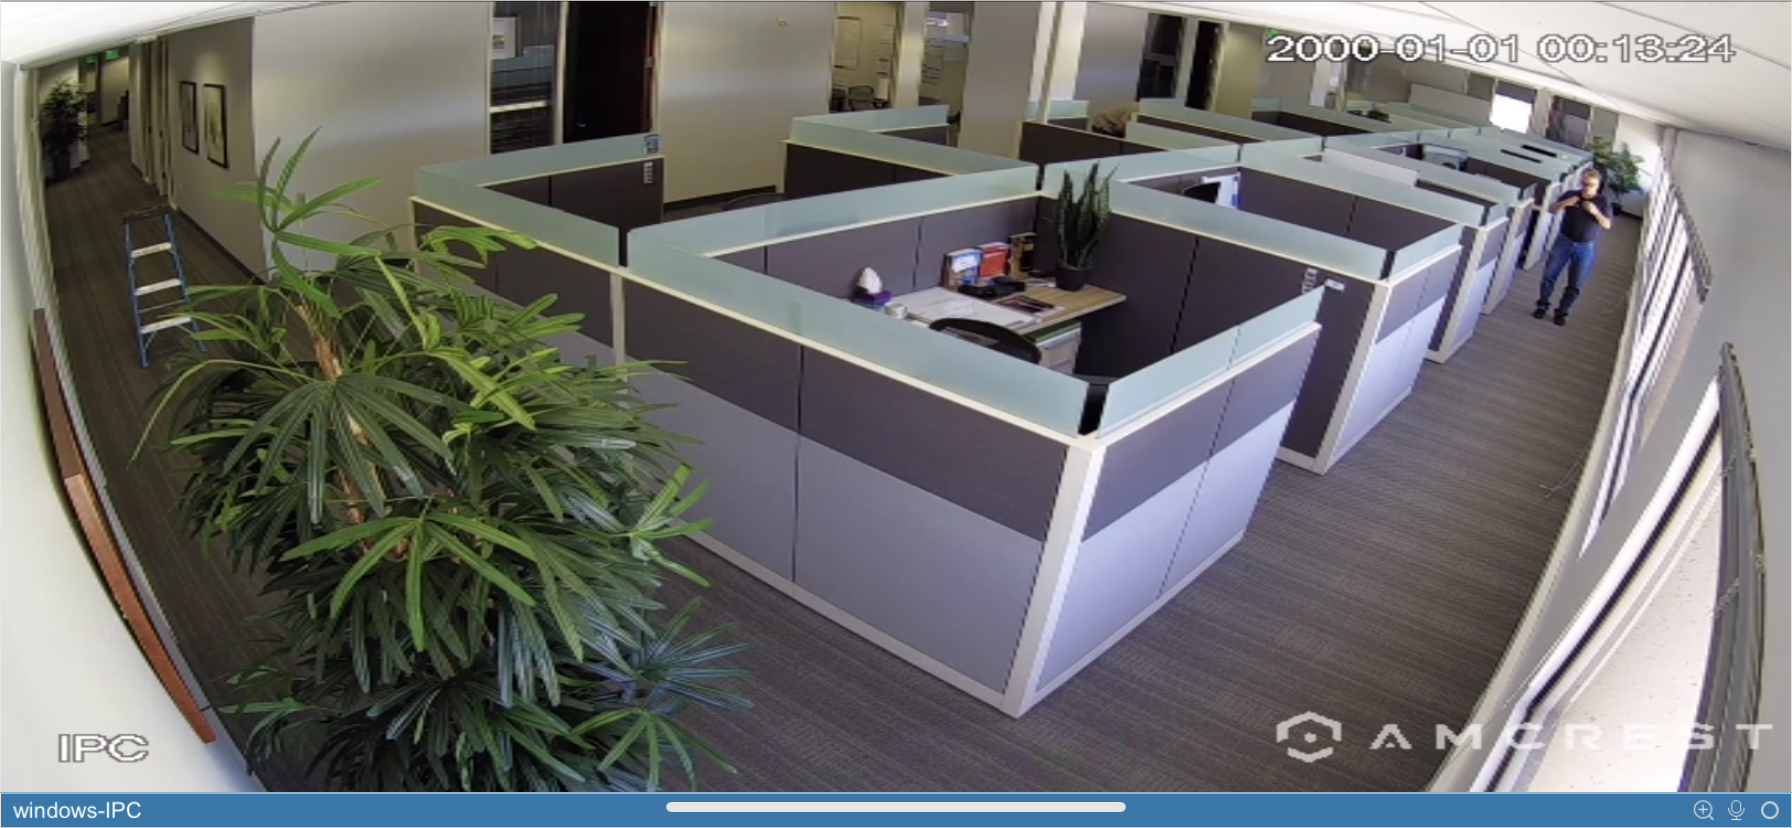
View from one of the central corner IP cameras
The main entrance thermal camera simultaneously detects fever and captures people as they enter with a 2699 x 1520 resolution. We positioned the camera between the reception desk and conference room to especially capture visitors and non-employees that may stop to speak to the receptionist and filter into the largest gathering area in the office.
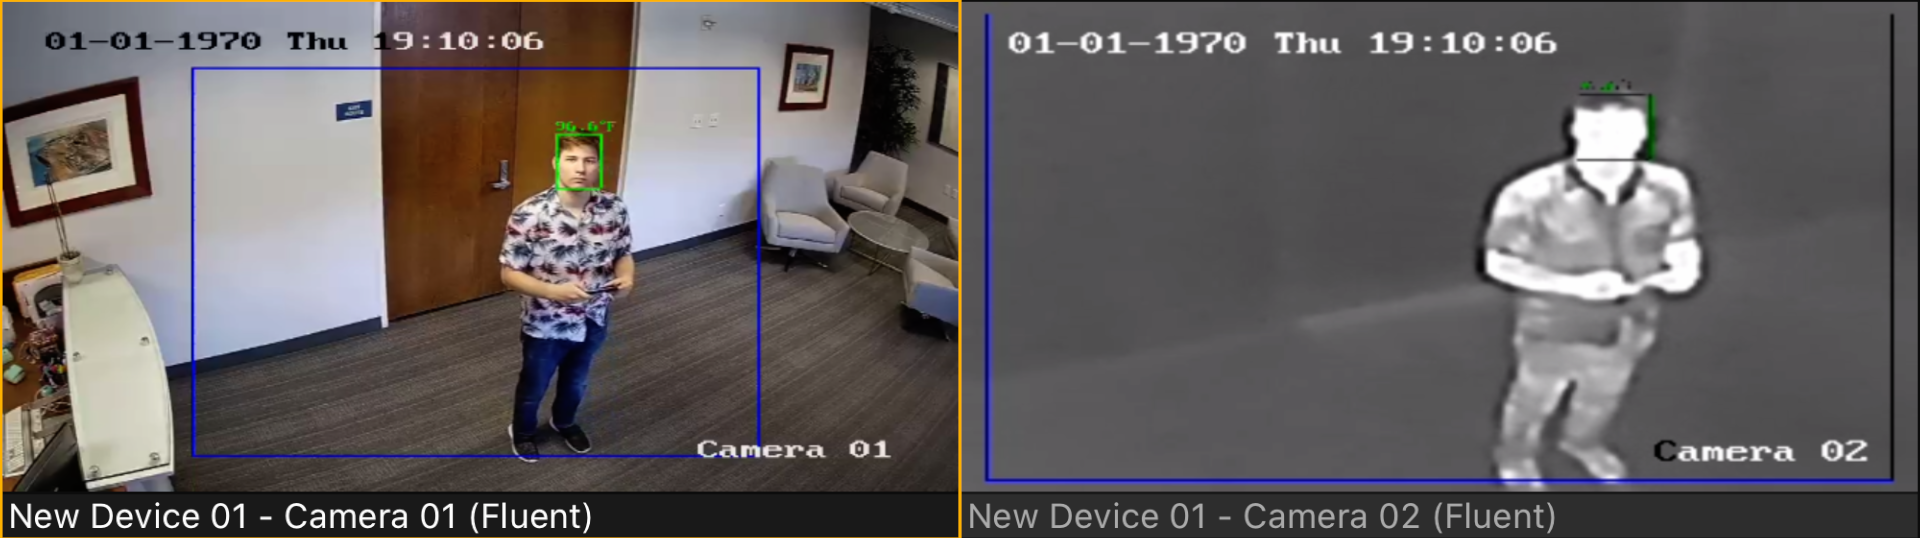
As you can see from the images above, we still had some calibrating to do for the cameras such as synchronizing internal clocks and ensuring the accuracy of thermal reads. We will utilize an edge processor with powerful GPU capabilities to process the images in real time.
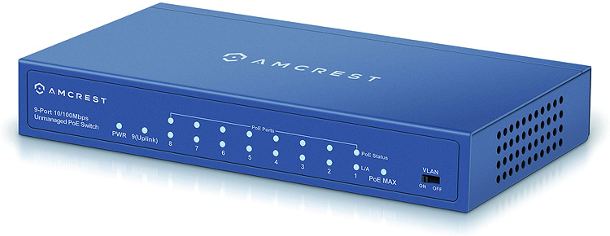
A POE+ Switch powers the cameras and gateways and connects them to our network to enable visibility and connectivity for our system deployment.
What’s Next?
We will be installing our remaining hardware in phases as we develop the real-time application. This approach enables us to test incrementally and operate in an agile manner. Because privacy and security is a vital concern, we will need to create a virtual network for the data coming from the cameras and run the data through a firewall from our POE+ switch to ensure proper cybersecurity of our data, employees, and visitors.
Our partner, Bits in Glass, is currently working with VANTIQ to design and deploy the application that will power the space. We chose to tackle this project together to bring in expertise in each respective field and to make this project the result of a strong alliance that will undoubtedly grow over time.
When combined in VANTIQ’s reactive platform, this network of cameras will create a living, real-time smart space.
To learn more about Project Q and how you can implement your own Smart Office Solution, watch our webinar with BIG, Transforming our HQ into a Smart Building to Get Back to Work Safely.
This blog is part of an ongoing series reporting on our Journey to a Smart Office. Click the links below to explore the series!
Part 3: With a Little Help from Our Friends
Part 4: Bringing the Smart Office to Life
Part 5: Stay tuned!